Real Time Ray Tracer Animator
Photon Mapping, Texture Mapping, Cubemapping, and Bump Mapping
View Image Gallery →Introduction
Until now in CS384G, we saw different solutions to different problems in Graphics. For example, use of Bezier curve and B-Splines in order to smoothly animate an object. Phong illumination model in order to ray trace a scene, applying various filters on an image for different types of image processing. But individually each of these concepts had many limitations.
Just smoothly animating an object doesn't make it look real good. On the other hand, ray tracer provides a high quality image but takes considerable time to render a single one. In real life, we want visualizations and animations of high quality sometimes even better than a ray tracer and also in real time. That's why we came up with the idea of this project of providing a single solution to all of the above problems.
In this project, we implemented:
- 2D Texture Mapping
- Bump Mapping
- Cube Mapping
- Procedural/3D Textures
- Photon Mapping
- Parallelizing Ray Tracer to render real time
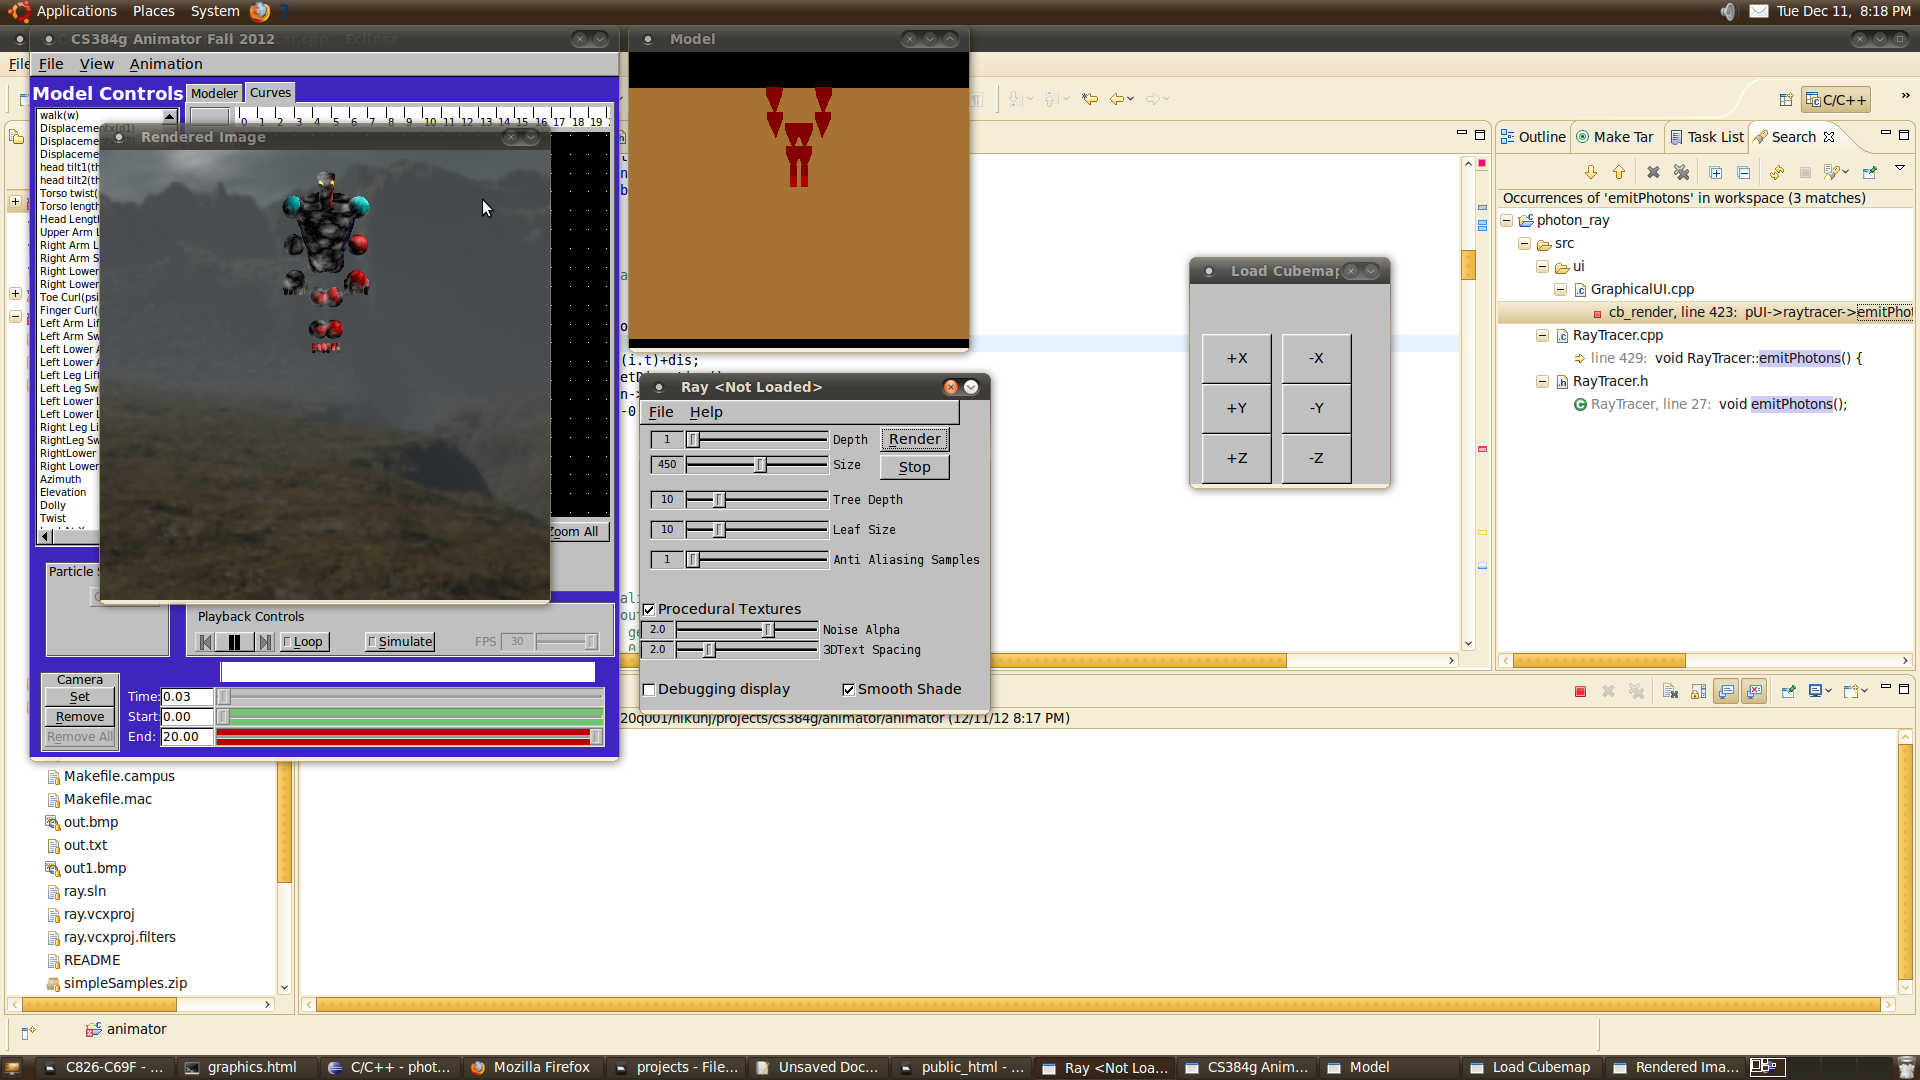
- A Real Time Ray Tracer Animator
2D Texture Mapping
In CS384G, we saw 2D Texture Mapping and introduction to 3D Textures. 2D texture mapping is easy but it provides only a good way to handle Textures when parameterization of the texture co-ordinates is easy. For example, 2D Texture mapping for Sphere, Cylinder or Box is very easy but when it comes to using texture mapping for polymeshes, you need to think in different terms.
We implemented 2D texture mapping for all the above objects including polymeshes and used Barycentric Coordinates to parameterize 2D Textures for trimeshes.
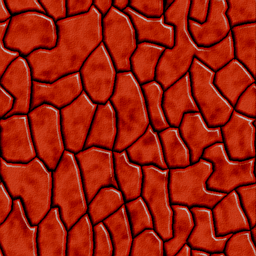
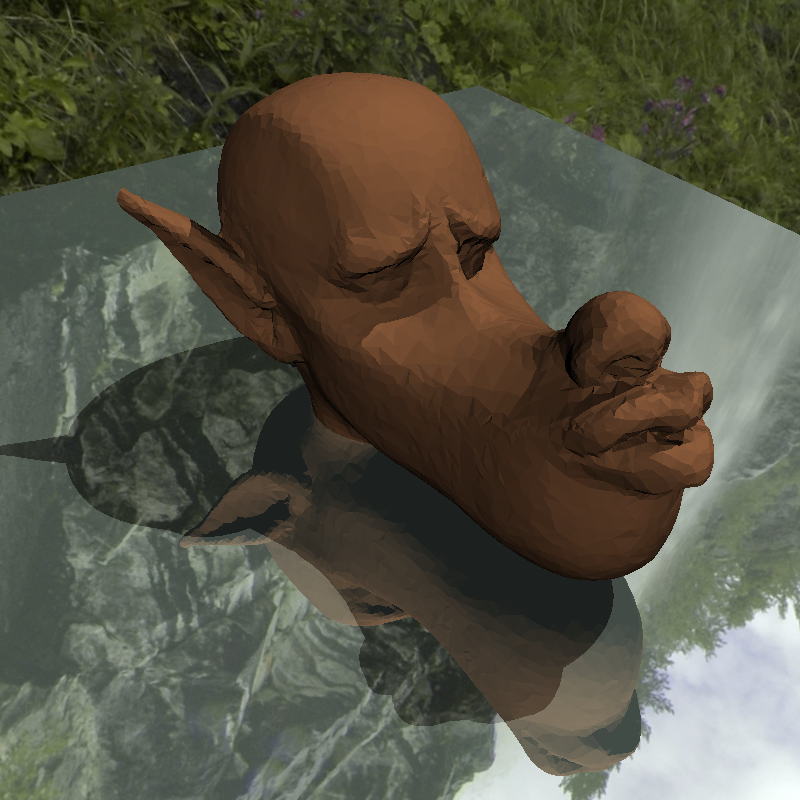
Bump Mapping
We also added support for Bump Mapping in the Ray Tracer. For this we added a new keyword in the parser to take an image as an input for bump mapping. This image is used to calculate the gradient and the Surface normal is perturbed based on this gradient.
norm = bump("skin1.bmp");
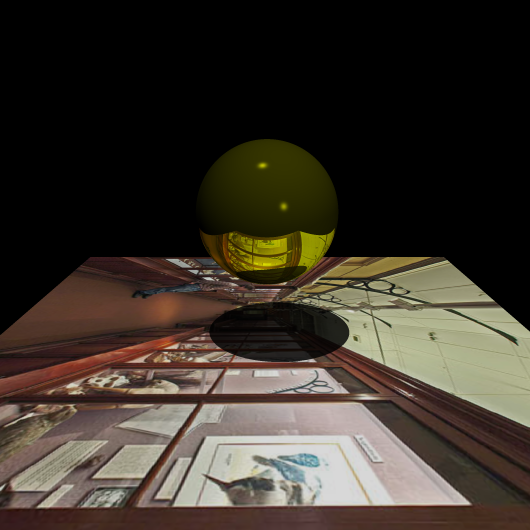
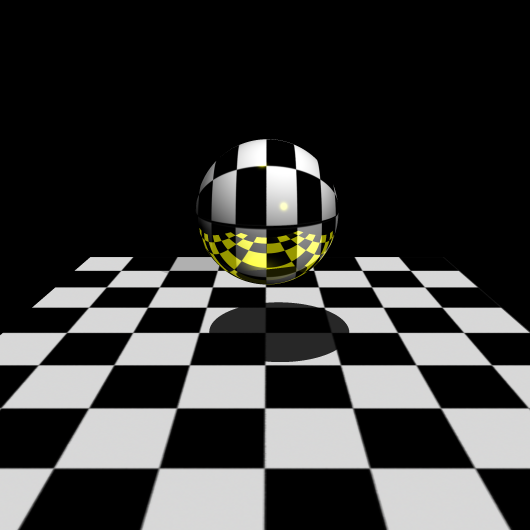
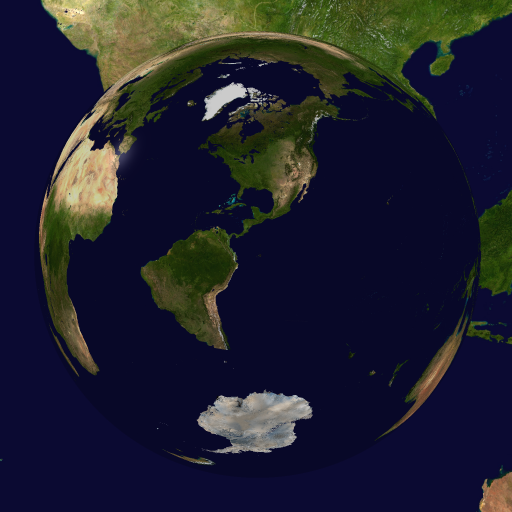
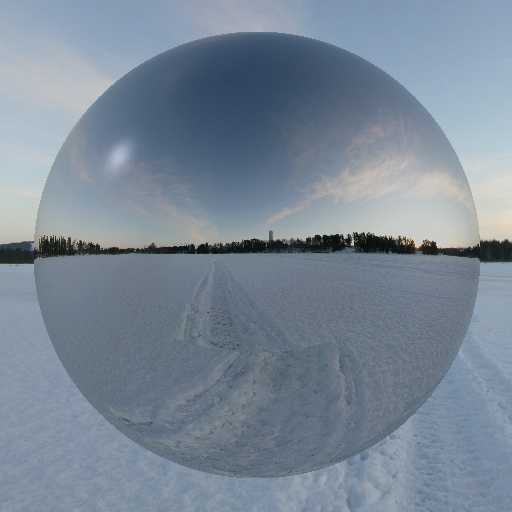
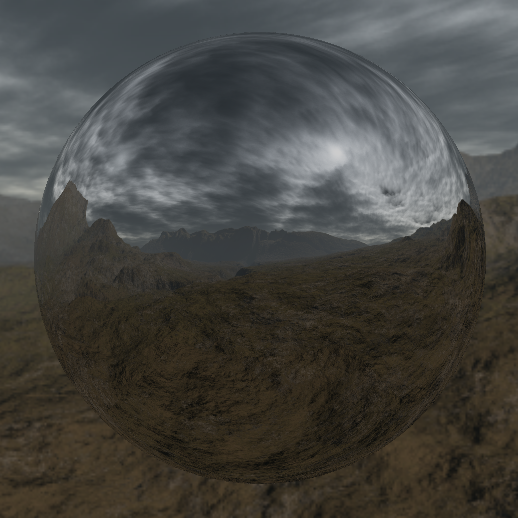
Cube Mapping
Cubemapping provides an easy way to add environment to scenes. We added 6 textures on 6 faces of the cube and treated this as our environment map. If the ray doesn't hit the object, it hits one of the faces of the cubemap thus providing the background for the scene.
The first three images contain a cubemap each and the scene consists of a spherical mirror, showing the reflection of the 360 degree cubemap in the mirror.
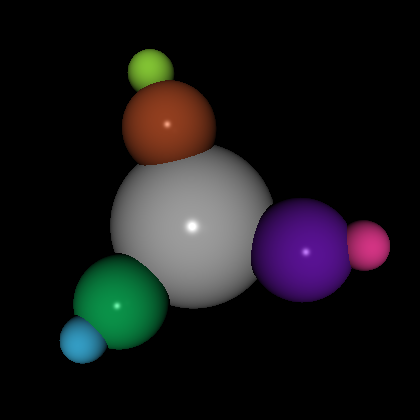
Procedural Textures
There are two ways to implement 3D Textures: 2D Stacking and Procedural Textures. We chose procedural textures for better effects. Procedural Textures are generated with an implicit formula which defines the texture pattern. Though the image is not fully described, we can represent a lot more details without using a lot of storage.
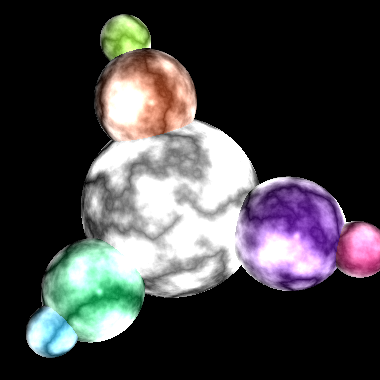
For our procedural textures, we use Perlin Noise, first described by Perlin in 1985. Perlin noise can be used in 1D, 2D or 3D dimensions. There are various ways to enhance Perlin noise for 3D Textures, such as Turbulence textures and Marble textures.

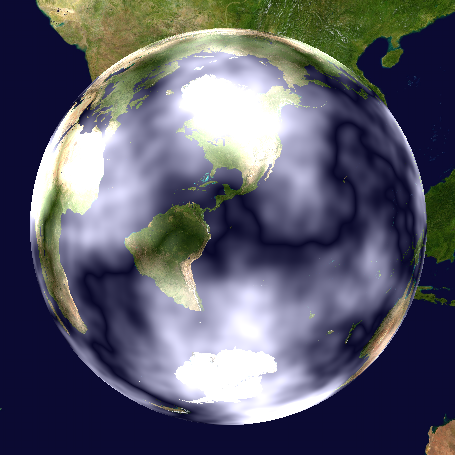
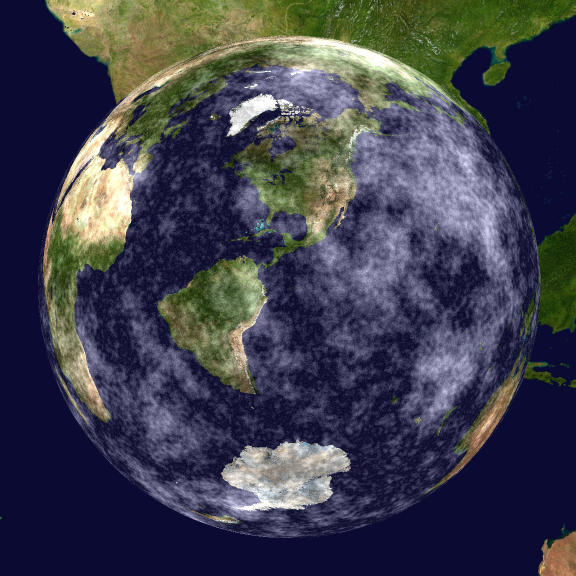
The following images show the effects of varying the Perlin noise on the earth cubemap. These variations could be visualized as the variations in clouds seen on a simulated Earth.
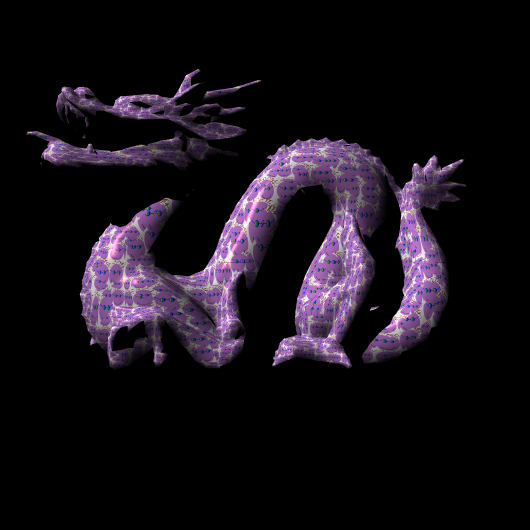
The following images show the effect of Procedural Textures on Trimeshes. Effects are much better and continuous compared to parametric 2D textures.
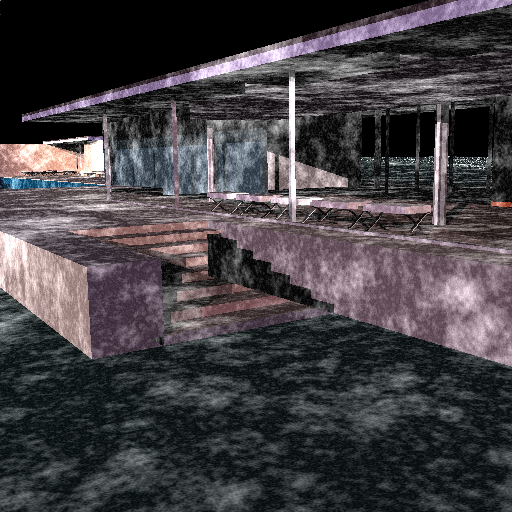
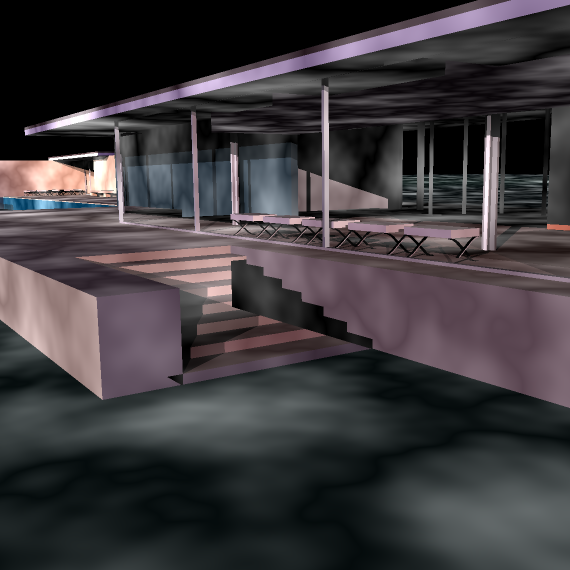
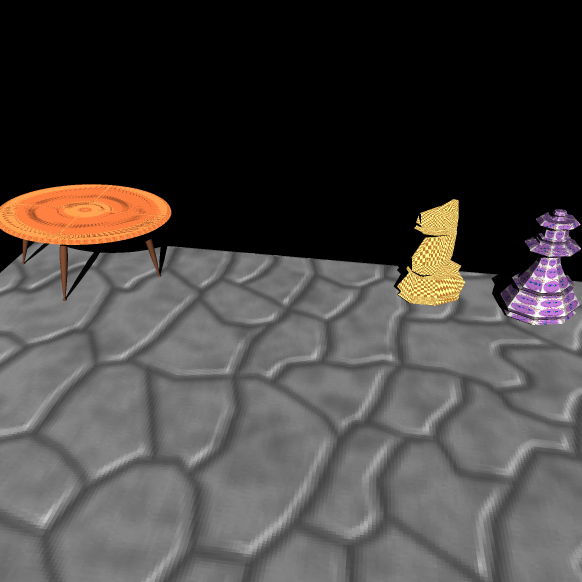
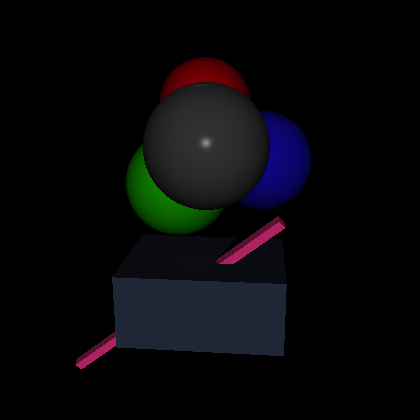
Combined Artifact
CubeMap + Procedural Texture + 2D Textures

Photon Mapping
Photon mapping is an alternate approach to lighting. Instead of tracing objects and then finding the phong shade on them, photon mapping uses a different approach:
- Emitting photons from every light source
- Storing photons in a photon map for every intersection with the scene
- Ray tracing the scene - when objects are hit, color using photons stored in the neighbourhood
Emit the photons in the whole of the scene. When an intersection is found, store the photon in the photon map and reflect the photon with the right equation. Every photon when emitted has a particular energy it starts with. When absorbing or reflecting, maintain the energy accordingly. For example, when a yellow object reflects, it has absorbed all the wavelengths of the light except yellow.
Parallelization - Real Time!
Ray tracing is a very simple parallelizable algorithm. Since each intersection is totally mutually exclusive of the other intersection, you can do them in parallel. We use num_threads and give them each row to process. Threads can divide among themselves rows or columns of the whole matrix that we are trying to ray trace.
Integration with Animator
We finally integrated everything with animator. Now you have a framework where you can animate using the simple framework of the animator. For your animation script, you can now ray trace each frame and show it realtime on the screen. You can add cubemaps, bumpmaps and procedural maps on the run in your animation.
Future Work
- Add a framework to do real time ray tracing using Photon Mapping
- Add the ability to rotate camera position on the fly so cubemap can be viewed in 360 degrees
- Add the ability to apply various image filters in the real time ray traced video
- Extend Procedural textures to implement Fractals and different types of procedural textures
References
"An Image Synthesizer"
Computer Graphics, 1985, 19 (3), pp 287-296.
"Global Illumination using Photon Maps"
In "Rendering Techniques '96". Eds. X. Pueyo and P. Schröder. Springer-Verlag, pp. 21-30, 1996